借助 React VR 框架,您现在可以构建 VR Web 应用程序。WebVR 是一个实验性 API,可在浏览器中创建和查看 VR 体验。Oculus 的这项新技术的目标是让每个人访问虚拟现实,而不管手头的设备是什么。
制作 React VR 应用的唯一需要是耳机和兼容的浏览器。当您只是查看 Web VR 应用程序时,即使耳机也无需使用。响应 VR 是在 JavaScript 上构建 VR 网站或应用程序的绝佳框架。它采用与”反应原生”相同的设计,并允许您使用提供的组件进行虚拟现实巡视和用户界面。
设置开发环境
在开始使用 React VR 之前,需要为将用于构建和管理 React VR 应用的依赖项进行设置。这些是Node.js和反应 VR CLI。
安装 Node.js 后,请确保使用最新版本(至少 6.0)。如果没有,则执行以下操作:
- MacOS:使用自制安装 Node.js
- Windows:从nodejs.org下载中安装
- Linux:使用sudo apt-get 安装节点js命令
然后,我们必须安装反应VR CLI使用npm:
npm install -g react-vr-cli.
并检查您是否具有全局安装它的根权限。
创建项目
导航到要在其中创建新项目的目录并运行react-vr init MyFirstReactVR命令。
将目录名称更改为类似 MyFirstReactVR 并运行 npm start 。
在浏览器中打开以下地址http://localhost:8081/vr/index.html,几秒钟后,您应该会看到类似的动画:
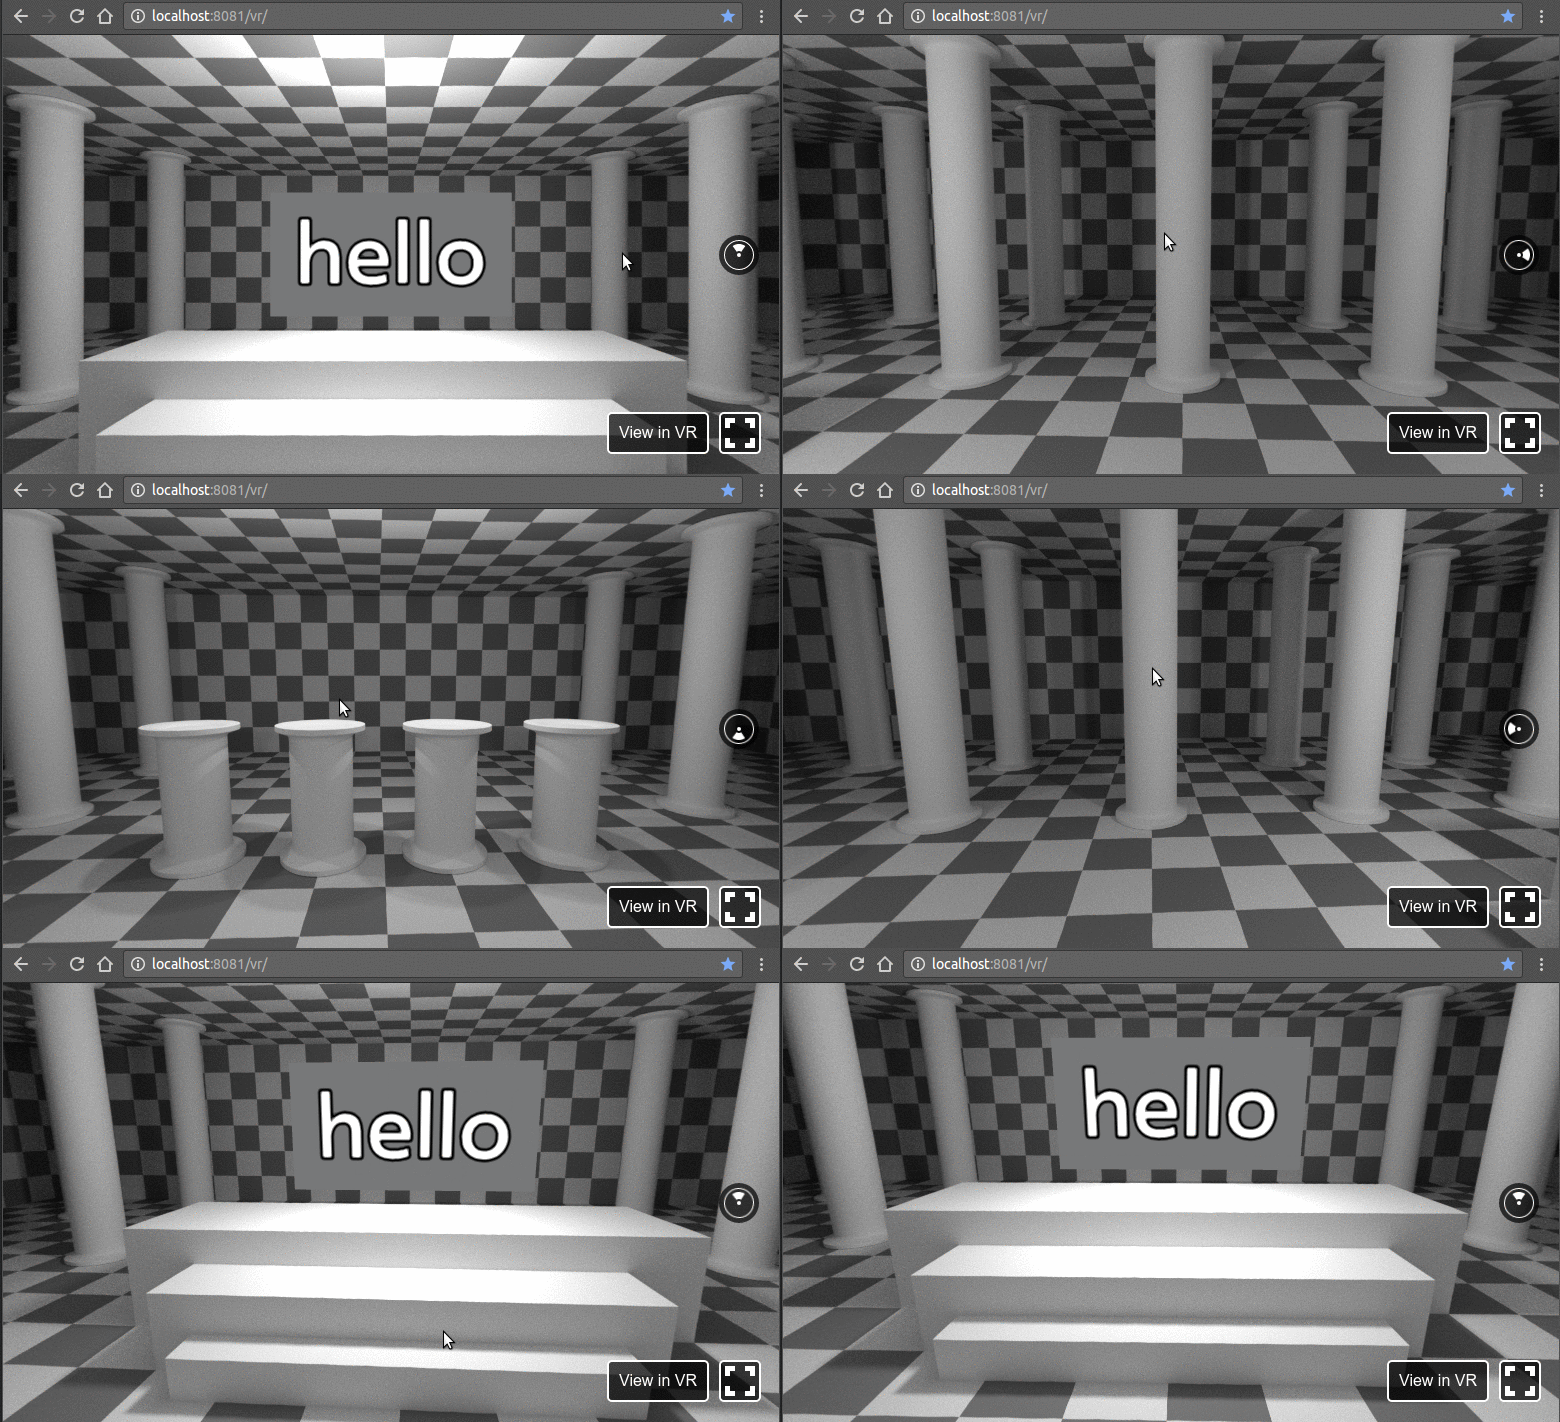
单击并尝试拖动光标。此外,在支持 WebVR 的浏览器中,您将能够在完全虚拟现实模式下使用耳机探索此 VR 环境。
使用反应 VR 的 VR 巡视示例
现在,让我们进行 VR 教程,其中包含一些场景和导航。首先,我们需要准备体系结构。在我们的示例中,我们将在每个场景中创建用于导航的按钮,并在名为index.js.vr的 React 组件的构造函数中声明此按钮:
constructor(props) {
    super(props);
    scenes: [{
        scene_image: 'initial.jpg',
        step: 1,
        navigations: [{
            step: 2,
            translate: [0.73, -0.15, 0.66],
            rotation: [0, 36, 0]
        }]
    }, {
        scene_image: 'step1.jpg',
        step: 2,
        navigations: [{
            step: 3,
            translate: [-0.43, -0.01, 0.9],
            rotation: [0, 140, 0]
        }]
    }, {
        scene_image: 'step2.jpg',
        step: 3,
        navigations: [{
            step: 4,
            translate: [-0.4, 0.05, -0.9],
            rotation: [0, 0, 0]
        }]
    }, {
        scene_image: 'step3.jpg',
        step: 4,
        navigations: [{
            step: 5,
            translate: [-0.55, -0.03, -0.8],
            rotation: [0, 32, 0]
        }]
    }, {
        scene_image: 'step4.jpg',
        step: 5,
        navigations: [{
            step: 1,
            translate: [0
03, -1],
旋转: [0, 20, 0]
}]
}]
}
此外,我们在构造函数中声明当前_scene的状态:
constructor(props) {
        this.state = {
            ...
            current_scene: {}
                ...
}对于渲染,我们更改渲染()方法,如下所示:
render() {
    return ( < View >
        < Pano source = {
            asset(this.state.current_scene['scene_image'])
        }
        style = {
            {
                transform: [{
                    translate: [0, 0, 0]
                }]
            }
        }
        /> {
            this.state.current_scene['navigations'].map(function(item, i) {
                return <Mesh key = {
                    i
                }
                style = {
                        {
                            layoutOrigin: [0.5, 0.5],
                            transform: [{
                                translate: item['translate']
                            }, {
                                rotateX: item['rotation'][0]
                            }, {
                                rotateY: item['rotation'][1]
                            }, {
                                rotateZ: item['rotation'][2]
                            }]
                        }
                    } >
                    < VrButton
                style = {
                        {
                            width: 0.15,
                            height: 0.15,
                            borderRadius: 50,
                            backgroundColor: 'blue'
                        }
                    } >
                    < /VrButton> < /Mesh>
            })
        } < /View>
    )
}进行此工作的最后一步是将当前_scene状态设置为场景数组组件WillMount函数的第一个元素:
componentWillMount() {
    this.setState({
        current_scene: this.state.scenes[0]
    });
}
结果应类似于此屏幕上:

现在,我们为按钮添加一个简单的动画,并实现在场景之间导航的逻辑。首先,对于导航,我们需要订阅Mesh元素的onInput事件,在构造函数中将其绑定到此函数,并实现它:
...
constructor(props) {
    ...
    this.onNavigationClick = this.onNavigationClick.bind(this);
    ...
}

...
onNavigationClick(item, e) {
        if (e.nativeEvent.inputEvent.eventType === "mousedown" && e.nativeEvent.inputEvent.button === 0) {
            var new_scene = this.state.scenes.find(i => i['step'] === item.step);
            this.setState({
                current_scene: new_scene
            });
        }
    }
    ...

render() {
    var that = this;
    ... < Mesh key = {
            i
        }
        ...
    onInput = {
            e => that.onNavigationClick(item, e)
        }
        .... >
        ...
}然后,我们添加了一个简单的动画试用它。为此,我们在渲染方法的现有按钮中又添加了一个按钮,并更改了它的大小。我们使用本机 JS请求动画框架函数:
const DEFAULT_ANIMATION_BUTTON_RADIUS = 50;
const DEFAULT_ANIMATION_BUTTON_SIZE = 0.05;

constructor(props) {
.
此.状态 √ √ √
…
动画宽度:默认_动画_按钮_大小,
动画Radius:默认_动画_按钮_RADIUS
…
}
…
这.动画指针 = 此.animate指针.绑定(本);
}
…
组件WillUnmount() |
如果 (此.框架处理) |
取消动画框架(此帧处理);
这.帧处理 = null;
}
}
组件DidMount() |
这.动画指针();
}
动画指针() |
var 增量 = 此.state.动画宽度 = 0.002;
var 半径 = 此.state.动画半径 = 10;
如果 (增量 >= 0.13) |
增量 = DEFAULT_动画_BUTTON_SIZE;
半径 = 默认_动画_按钮_半径;
}
这.setState(*
动画宽度:增量,
动画半径:半径
})
此.帧处理 = 请求动画帧(此.动画指针);
}
…
渲染() |
…< VrButton
样式 √ √ √
{
宽度: 0.15,
高度: 0.15,
边界范围: 50,
证明内容:”中心”,
对齐项目:”中心”,
边框样式:”实心”,
边框颜色:”#FFFFFF80″,
边框宽度: 0.01
}
[ >
< VrButton
样式 √ √ √
{
宽度:那.state.动画宽度,
高度:那.state.动画宽度,
边框范围:那.state.动画Radius,
背景颜色:”#FFFFFFD9″
}
[ >
< /VrButton> < /VrButton>
…
}
结果如下所示:
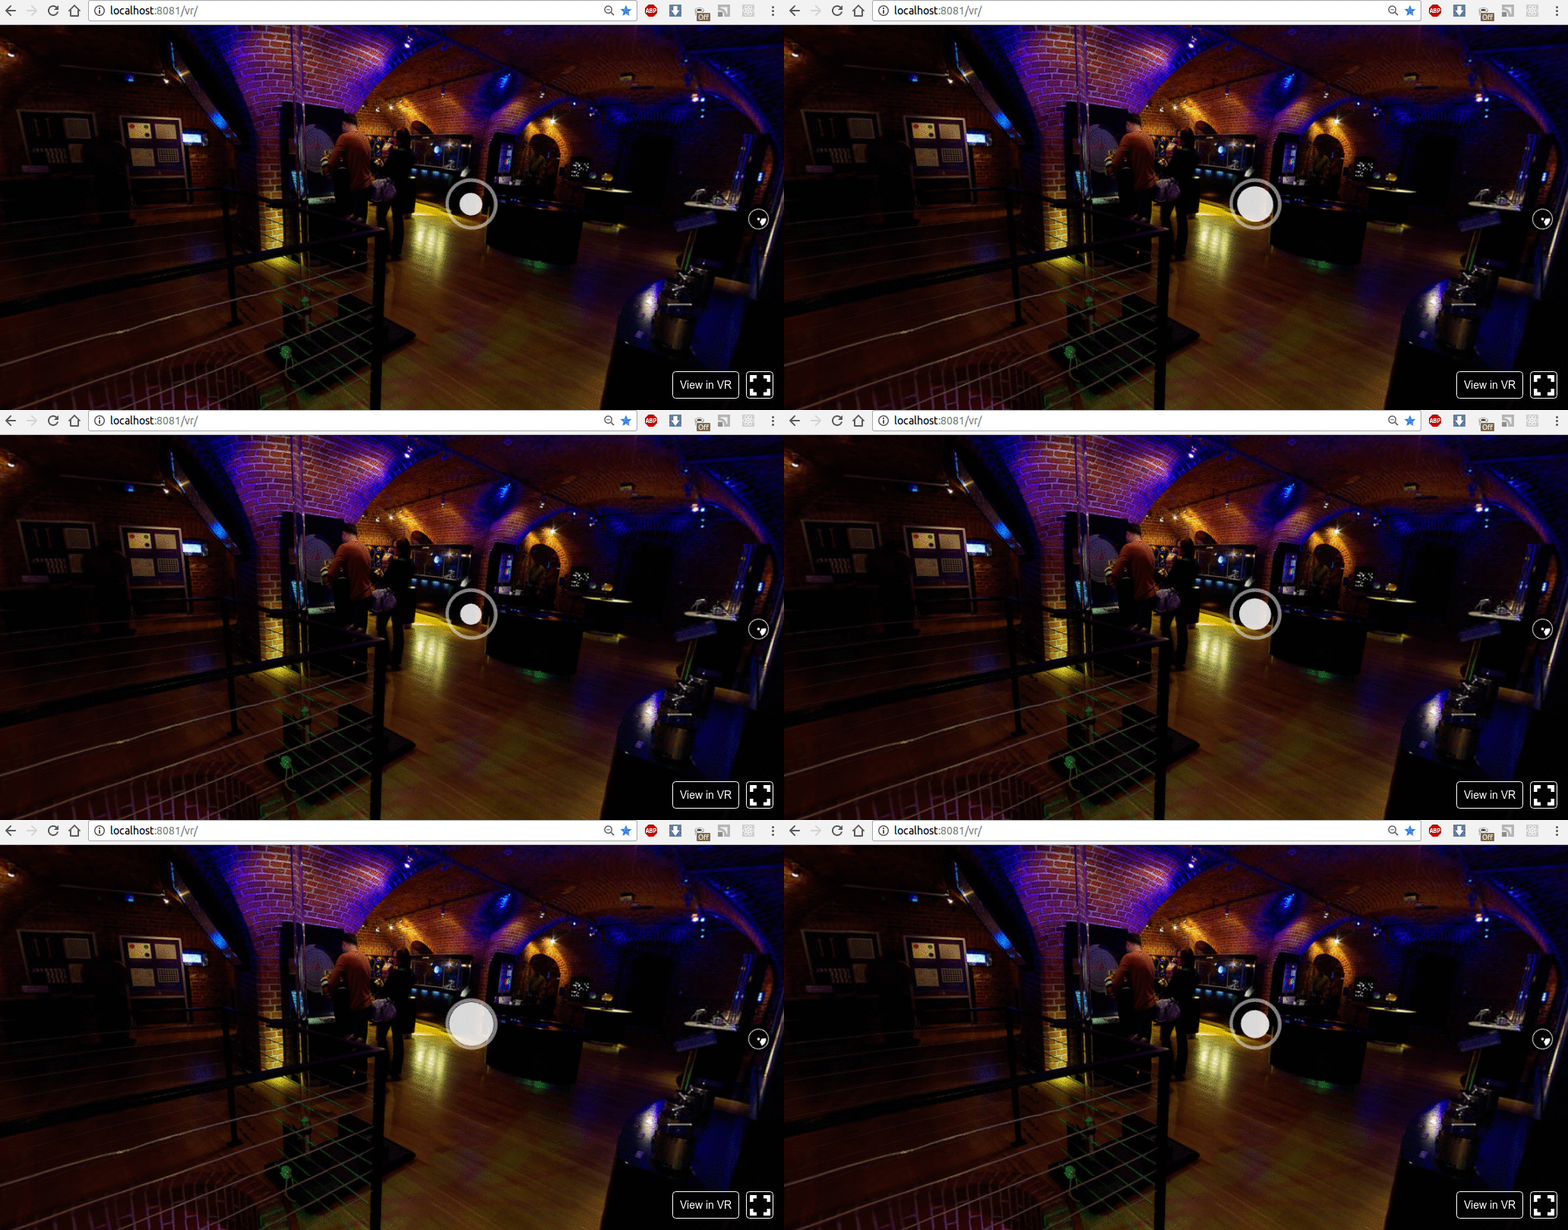
现在,让我们使用动画按钮及其旋转实现操作。我们将在 X-Y-Z 轴上旋转按钮。为此,我们需要订阅Pano组件的onInput事件,并通过向上箭头、箭头右键和向下箭头按钮更改旋转。
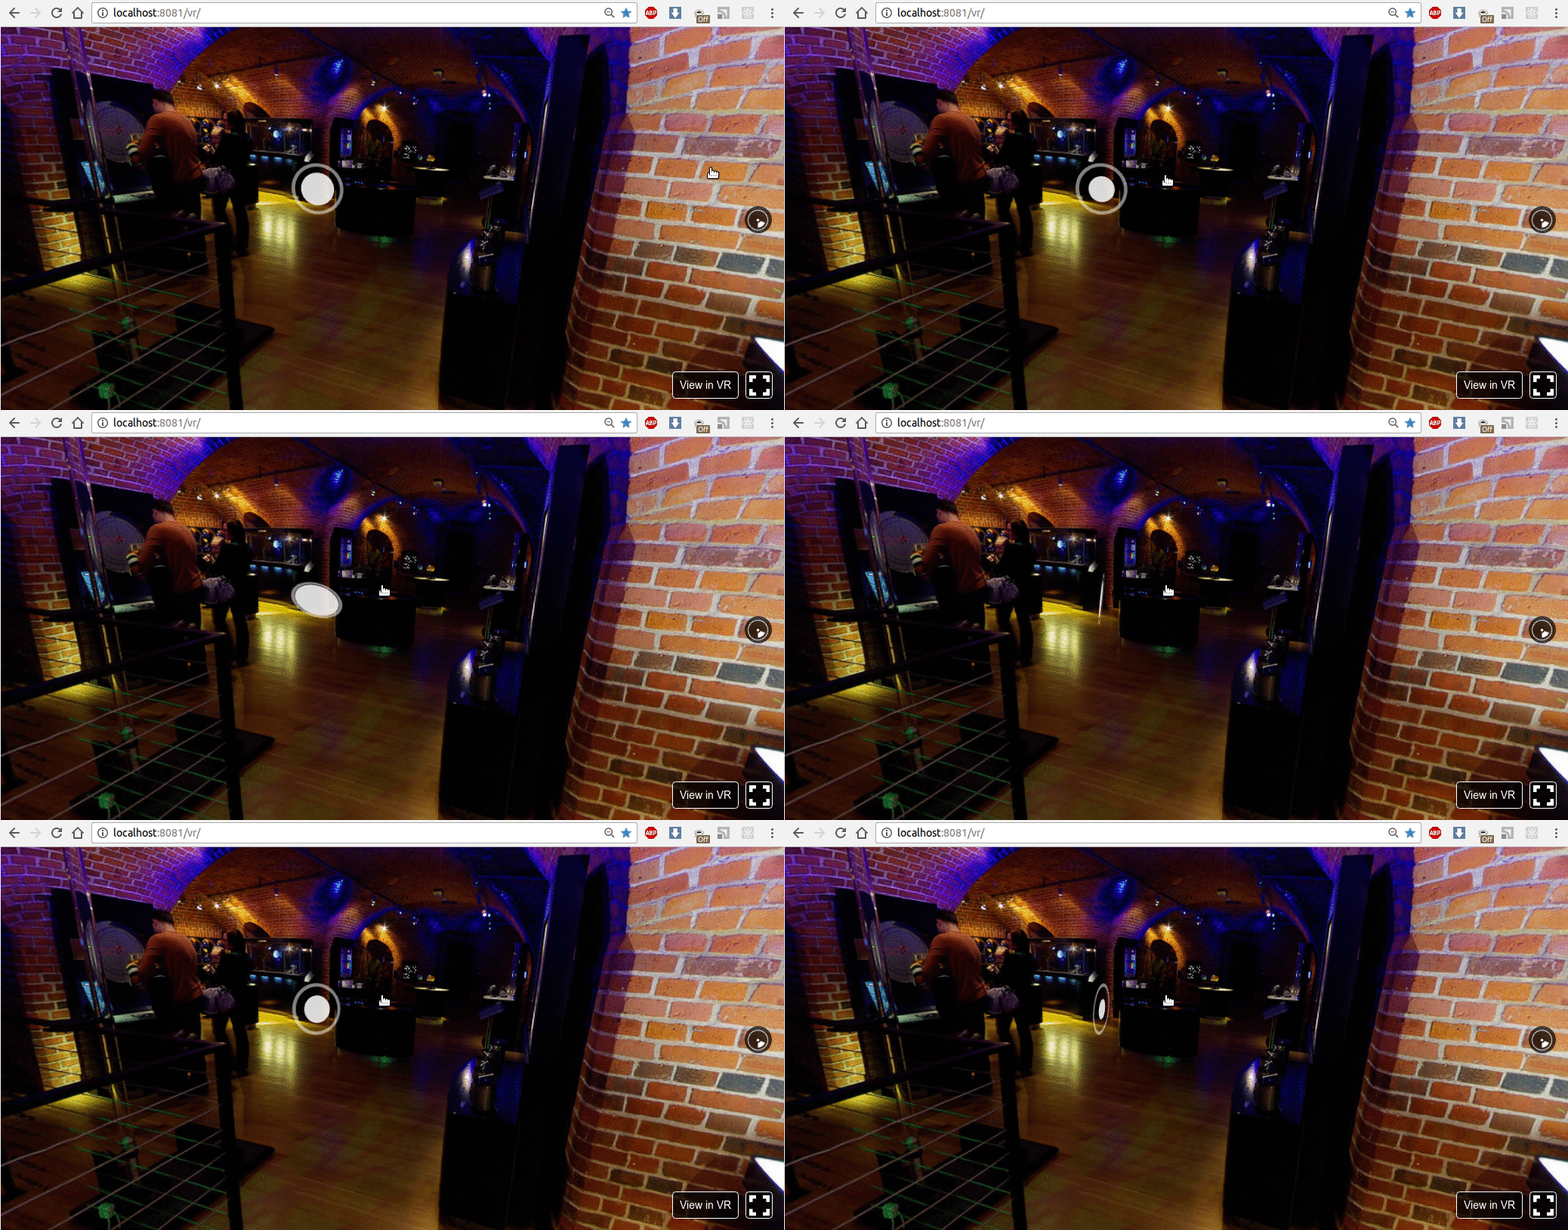
最后一件事是实现 VR 线程和主线程的消息传递以交换数据。下面是在场景更改或图像开始/结束加载时接收消息和发布消息的订阅代码。
  componentWillMount() {
      window.addEventListener('message', this.onMainWindowMessage);
      ...
  }

  onMainWindowMessage(e) {
      switch (e.data.type) {
          case 'newCoordinates':
              var scene_navigation = this.state.current_scene.navigations[0];
              this.state.current_scene.navigations[0]['translate'] = [e.data.coordinates.x, e.data.coordinates.y, e.data.coordinates.z]
              this.forceUpdate();
              break;
          default:
              return;
      }
  }

  onNavigationClick(item, e) {
      ...
      postMessage({
          type: "sceneChanged"
      })
      this.state.animationWidth = DEFAULT_ANIMATION_BUTTON_SIZE;
      this.state.animationRadius = DEFAULT_ANIMATION_BUTTON_RADIUS;
      this.animatePointer();
      ...
  }

  sceneOnLoad() {
      postMessage({
          type: "sceneLoadStart"
      })
  }

  sceneOnLoadEnd() {
      postMessage({
          type: "sceneLoadEnd"
      })
  }

  render() {
      ... < Pano...
      onLoad = {
          this.sceneOnLoad
      }
      onLoadEnd = {
              this.sceneOnLoadEnd
          }
          ... / >
}您可以在GitHub 存储库中查看index.vr.jsjs,我们实现鼠标滚轮的缩放和位置更改与双击。我们需要存储VR实例和VRcamera实例来实现上述逻辑。
function init(bundle, parent, options) {
    const vr = new VRInstance(bundle, 'TMExample', parent, {
        // Add custom options here
        ...options,
    });
    vr.render = function() {
        // Any custom behavior you want to perform on each frame goes here
    };
    // Begin the animation loop
    vr.start();
    window.playerCamera = vr.player._camera;
    window.vr = vr;
    return vr;
}然后,我们订阅ondblclick和鼠标轮,并实现缩放和改变位置逻辑。
  function onRendererDoubleClick() {
      var x = 2 * (event.x / window.innerWidth) - 1;
      var y = 1 - 2 * (event.y / window.innerHeight);
      var coordinates = get3DPoint(window.playerCamera, x, y);
      vr.rootView.context.worker.postMessage({
          type: "newCoordinates",
          coordinates: coordinates
      });
  }

  function onRendererMouseWheel() {
      if (event.deltaY > 0) {
          if (window.playerCamera.zoom > 1) {
              window.playerCamera.zoom -= 0.1;
              window.playerCamera.updateProjectionMatrix();
          }
      } else {
          if (window.playerCamera.zoom < 3) {
              window.playerCamera.zoom += 0.1;
              window.playerCamera.updateProjectionMatrix();
          }
      }
}get3DPoint是我们的自定义函数,使用三.js将屏幕坐标转换为世界坐标,实现在cameraHelper.js中。
import * as THREE from 'three';

export function get3DPoint(camera, x, y) {
    var mousePosition = new THREE.Vector3(x, y, 0.5);
    mousePosition.unproject(camera);
    var dir = mousePosition.sub(camera.position).normalize();
    return dir;
}
让我们看看结果:

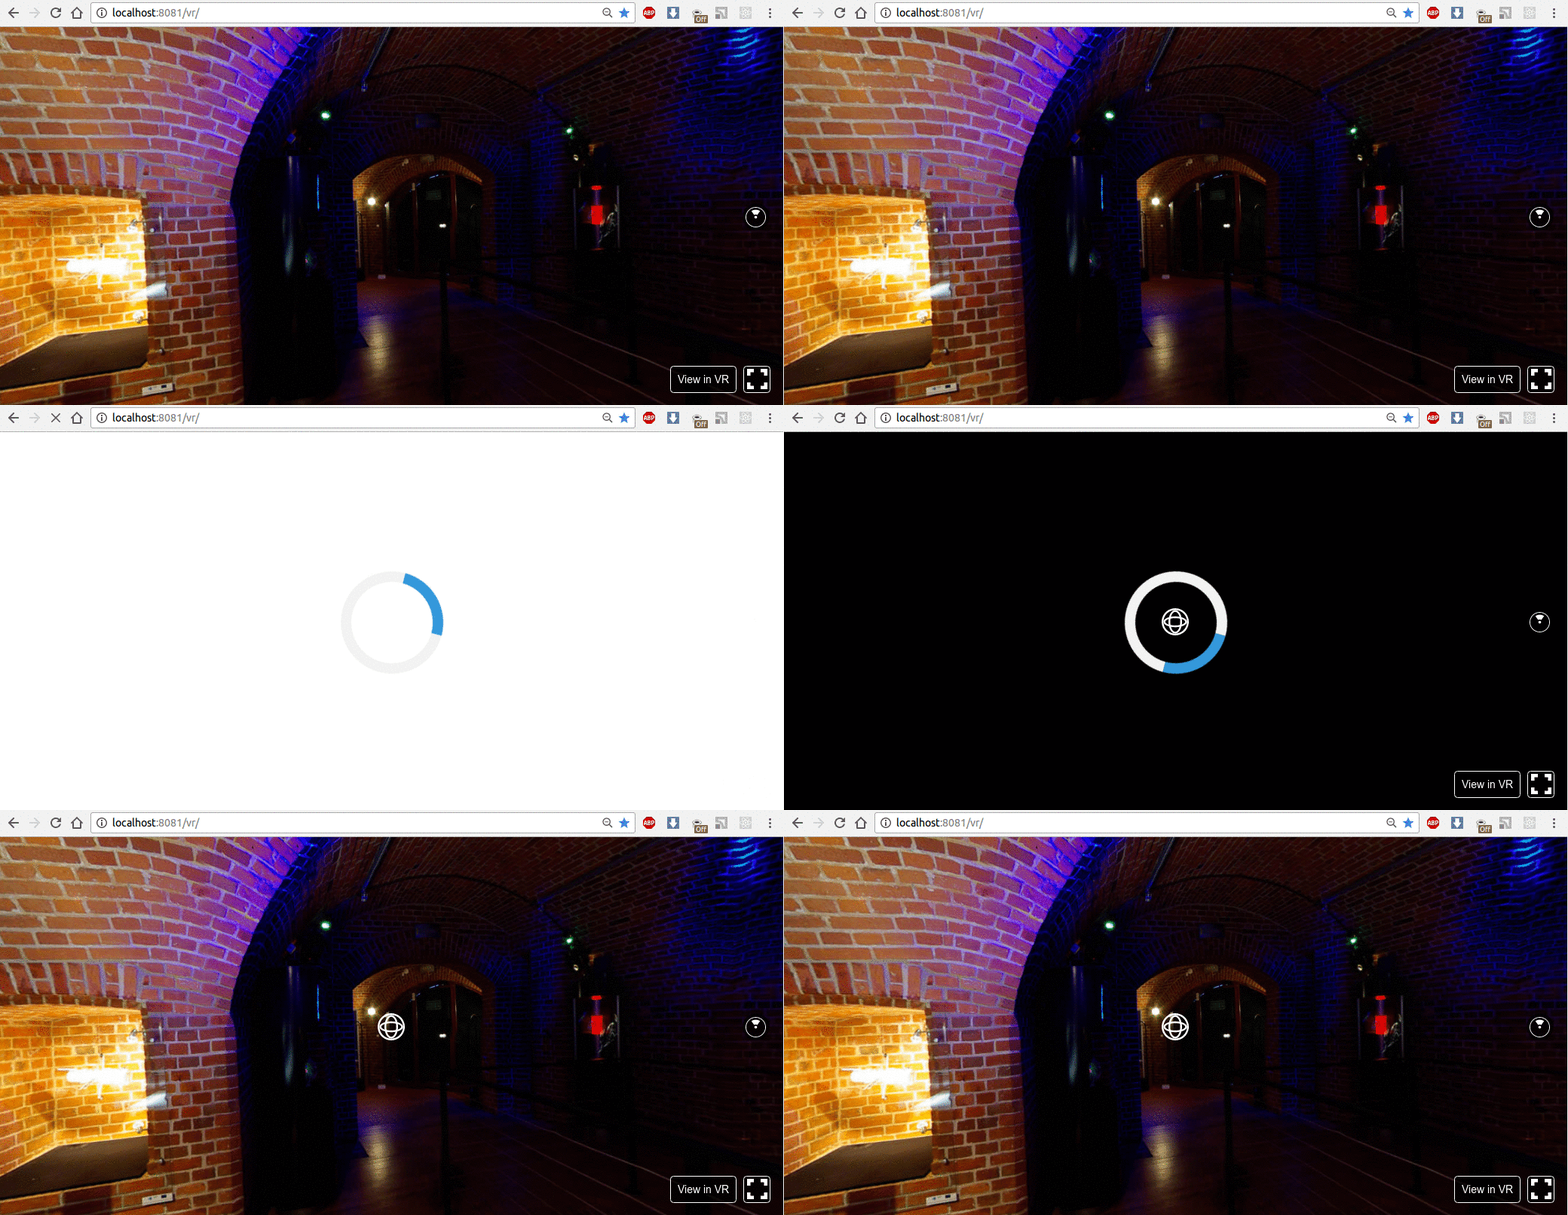
有时,加载场景图像需要时间。因此,我们实现了加载程序来显示此过程。在index.html中,我们基于此w3c学校示例添加加载器和 CSS。
<style>
    body { margin: 0; }
    #loader {
    position: absolute;
    left: 50%;
    top: 50%;
    z-index: 1;
    width: 150px;
    height: 150px;
    margin: -75px 0 0 -75px;
    border: 16px solid #f3f3f3;
    border-radius: 50%;
    border-top: 16px solid #3498db;
    width: 120px;
    height: 120px;
    -webkit-animation: spin 2s linear infinite;
    animation: spin 2s linear infinite;
    }
    @-webkit-keyframes spin {
    0% { -webkit-transform: rotate(0deg); }
    100% { -webkit-transform: rotate(360deg); }
    }
    @keyframes spin {
    0% { transform: rotate(0deg); }
    100% { transform: rotate(360deg); }
    }
    .animate-bottom {
    position: relative;
    -webkit-animation-name: animatebottom;
    -webkit-animation-duration: 1s;
    animation-name: animatebottom;
    animation-duration: 1s
    }
    @-webkit-keyframes animatebottom {
    from { bottom:-100px; opacity:0 }
    to { bottom:0px; opacity:1 }
    }
    @keyframes animatebottom {
    from{ bottom:-100px; opacity:0 }
    to{ bottom:0; opacity:1 }
    }
    #myDiv {
    display: none;
    text-align: center;
    }
</style>
<body>
    <div id='content' style="width:100%; height:100%">
        <div id="loader"></div>
    </div>
    <script src="
捆绑?平台\vr”></脚本>
<script>
反应VR.init(’./index.vr.bundle?平台[vr&dev=true’,文档.getElementById(”内容”) );
</脚本>
</body>
不要忘记来自 VR 线程的客户端.js中的消息,以启用/禁用动画:
  function init(bundle, parent, options) {
    ...
    vr.rootView.context.worker.addEventListener('message', onVRMessage);
    ...
  }

  function onVRMessage(e) {
    switch (e.data.type) {
      case 'sceneChanged':
      if (window.playerCamera.zoom != 1) {
        window.playerCamera.zoom = 1;
        window.playerCamera.updateProjectionMatrix();
      }
      break;
      case 'sceneLoadStart':
        document.getElementById('loader').style.display = 'block';
      break;
      case 'sceneLoadEnd':
        document.getElementById('loader').style.display = 'none';
      break;
      default:
      return;
    }
  }
整个项目代码示例可在React VR GitHub上免费下载。
更多详细信息和 VR 旅游应用程序与 React – 看看我们的主要文章React VR Oculus有关该过程。

